Rewritten in 2022 with better guidance on the reasons to choose each type of rack.
Table of Contents
Terminology


Most readers know these terms, but to clarify how I’m using them here…
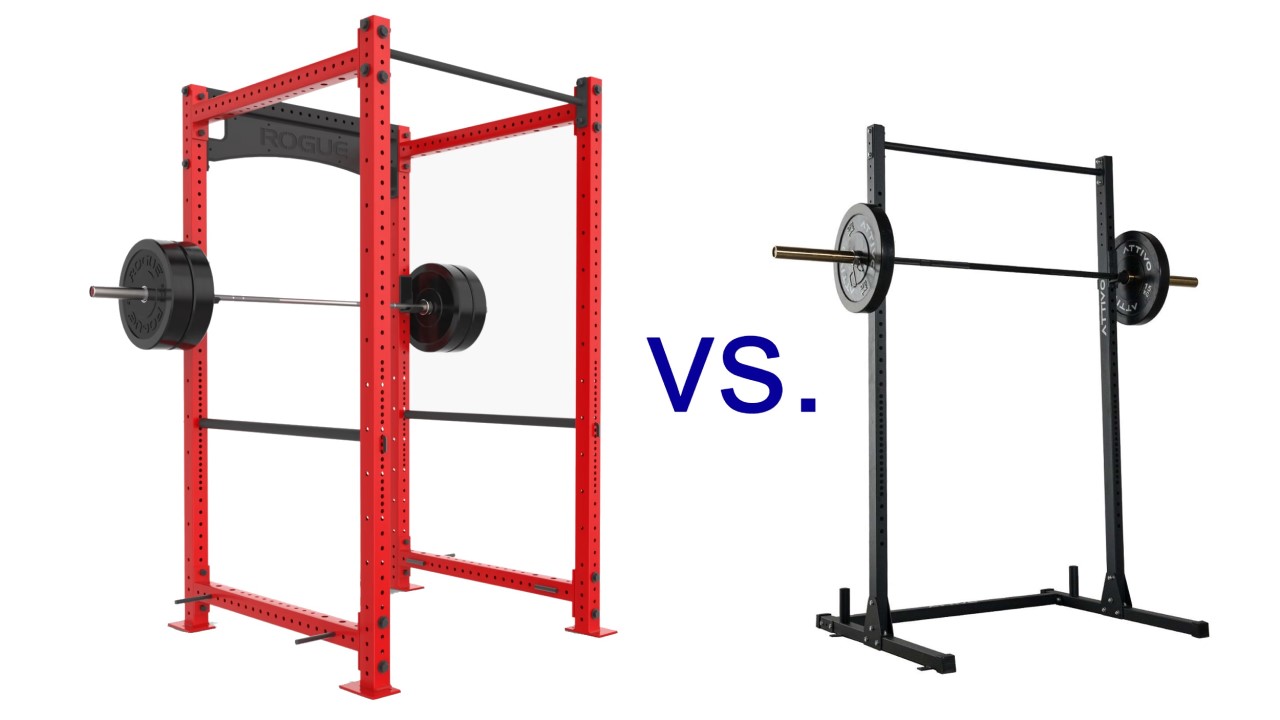
Power rack – Has steel uprights both in front of and behind the barbell, plus safety bars you set to catch the barbell if you fail. Whether you fail a lift by dropping the barbell down, forward, or backward, it has you covered. Occasionally called a full power rack to differentiate it from a half rack.
Half rack / Squat stand – Only has steel uprights behind the barbell, leaving one end open. Sometimes has adjustable or non-adjustable safety arms to catch a failed lift, or none at all.
Squat rack – Ambiguously any of the above in casual conversation, but usually it refers to some kind of half rack, especially in a discussion like this.
Squat stands – When squat stand is plural it means 2 independent stands that are placed to hold either side of the barbell. Usually minimalist and lightweight with no safety arms.
Power Rack Advantages
Maximum safety
If you’re lifting heavy alone, it’s a really good idea to be using a power rack. People have gotten injured and even killed while lifting alone in their basement on a half rack.
The main advantage to a power rack is the safety bars, also called spotter arms, safety pins, or spotter bars. All basically the same thing, with a few possible designs. We have too many names.
The uprights – or 4 vertical steel tubes of the rack – are there to support the safety bars on the sides, and to some extent to stop the barbell if you lose balance and it falls forward or back. You adjust the safety bars to a height just slightly below the bottom of your range of motion for the particular exercise to catch a failed rep and prevent you from getting injured. With things set properly, you’re pretty safe no matter what.
Half racks can have safety arms, but they’ll never be as as safe as a power rack. Here’s an example of what happens on a light duty half rack with an inadequate safety arm design:
So while the half rack above caught the barbell, the force was great enough on the safety arms away from the center that the whole rack flipped up. Not good. Even with safety arms, half racks tend to not be as heavy and therefore not as stable overall as power racks, simply due to having fewer frame components, and may not catch the barbell as well as you would like.
With cheaper half racks, if the barbell hits the uprights hard enough it may tip the rack over. Some half racks are made to be stable enough. When it’s a half rack design that you can bolt to a concrete floor or to a platform, or is set up to let you add plates to to weigh it down, you’re in much safer territory.
Some half racks’ safety arms are very short and might as well not be there at all, because you can’t count on them when you’re failing a rep. 18″ long safety arms can work. 24″ is better. Some small footprint racks won’t support safety arms that long.
There’s no question that although a half rack can be made safer in various ways, a power rack is inherently safer. It’s a particularly smart choice for beginner lifters who don’t have the squat movement down and may severely lose their balance and have to let go of the barbell in an uncontrolled manner. Or heck, sometimes the movement doesn’t go as planned. We all get stiff joints, small injuries, or weak days.
Safety straps
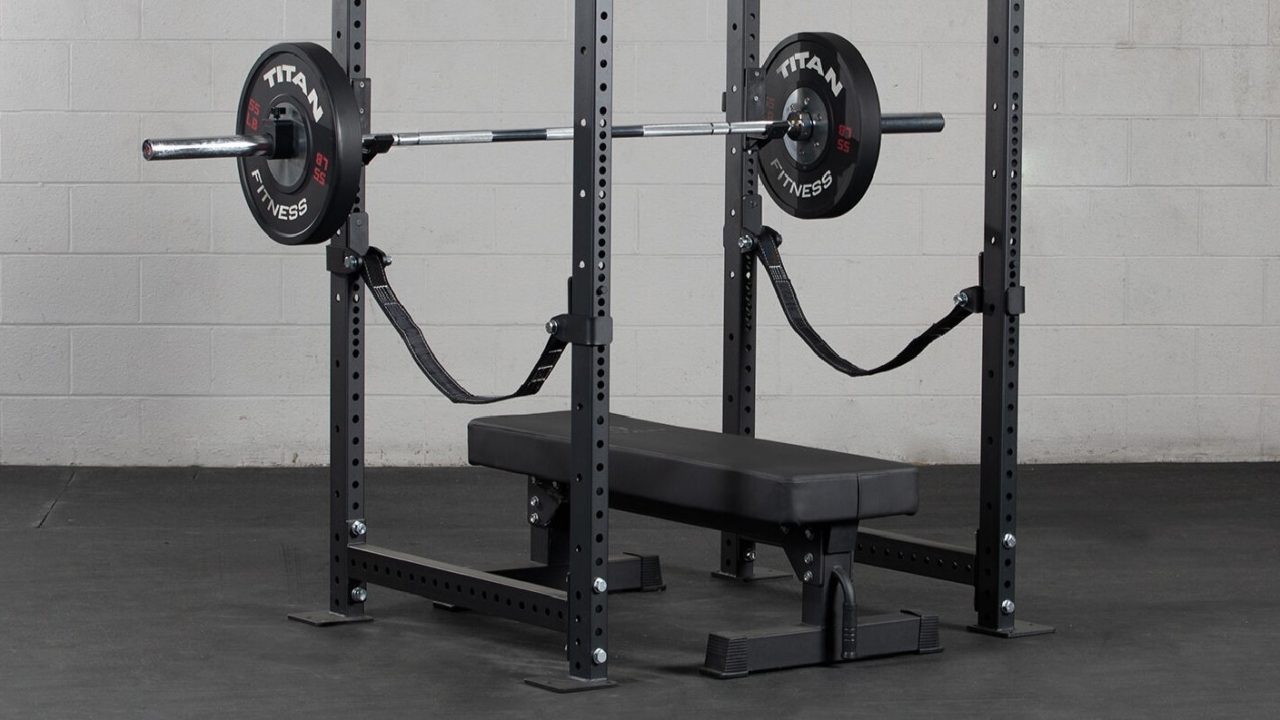
This popular innovation is only available on power racks. The purpose of straps is the same as safety bars, but they reduce the impact if you fail a rep. This protects your barbell’s integrity and knurl, and it cuts the noise a lot as well. For some exercises, like rack pulls, you might be using the straps every rep or every set, making all this a bigger factor.
As a bonus, you can get finer height adjustments by moving only one end of the strap up or down.
Pull up bar
It’s fairly easy for designers to add a pull up bar, or even two – a normal thickness bar in the front and a ‘fat’ one in the back – when they already have to connect the rack together at the top with something.
Taller half racks can certainly have pull up bars. But if they’re going to make the half rack tall enough and add the pull up bar, it starts to approach the price of a power rack.
See one of these articles for my top power rack picks according to your need:
- Freestanding power racks
- Floor-mounted power racks
- Budget power racks
- Short power racks for low ceilings
Half Rack Advantages
Space
Technically the footprint of a heavy duty half rack is often the same as a power rack. But in a tight space a half rack can give you more room to move around and step over the feet, enough to make a difference. A home gym can have limited space that you have to make the best use of.
Overhead Presses
A lot of racks are made to about 81″ high so that they can fit in residential units with a standard 8ft (84″) ceiling, considering also a possible inch or two of gym flooring material. While that height is fine for most exercises, a lifter perhaps 5’8″+ tall wanting to do standing overhead presses will have a problem. The barbell will smack right into the frame, the inside of which might be around 78″ high. A taller power rack obviously is nice if you have the ceiling height. The easier solution for most home gyms is either doing overhead presses outside the rack or using a half rack where you won’t be inside of it anyway.
Price
A half rack has fewer frame parts and is generally cheaper to make and ship.
That said, the spectrum of prices on power racks and half racks does overlap, with some heavy-duty or feature-rich half racks being more expensive than light-duty power racks.
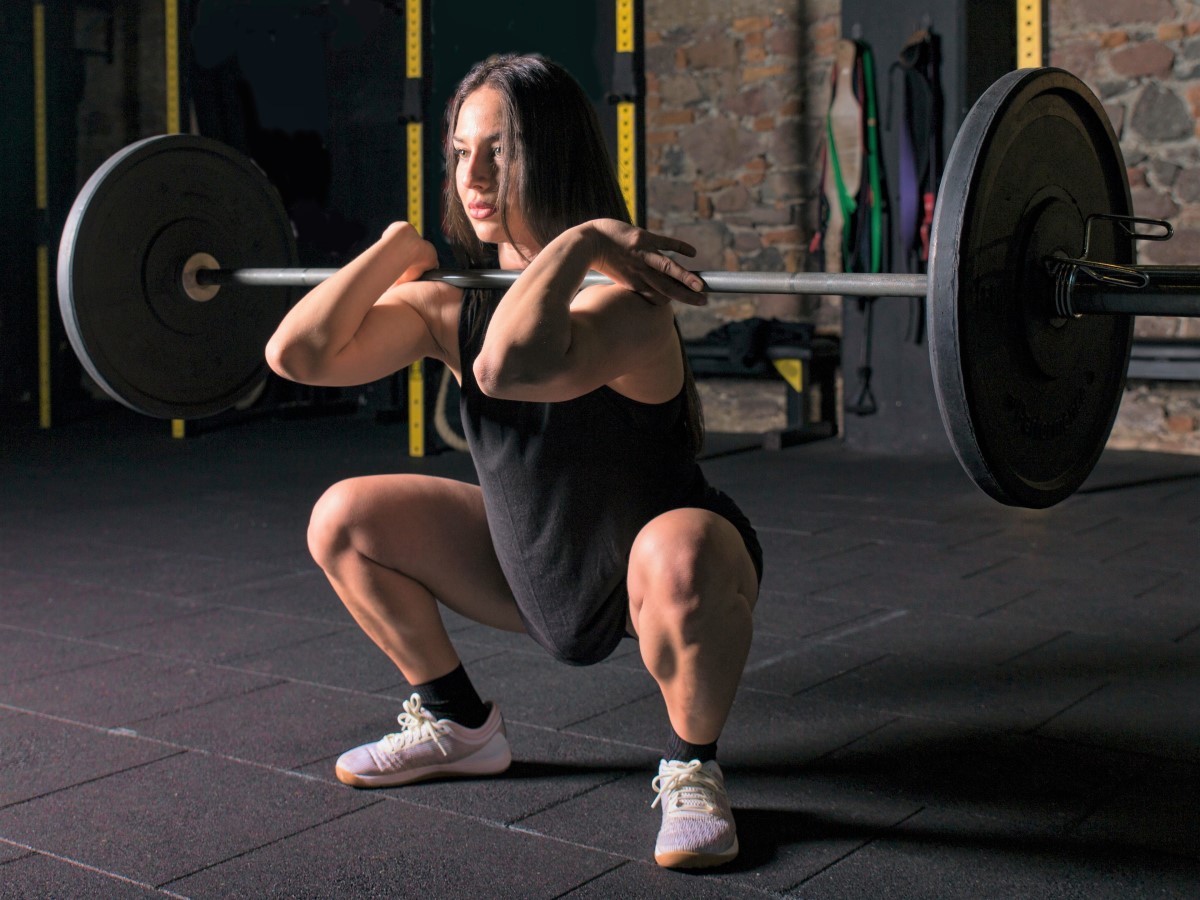
Moving the Barbell
To do exercises outside of the rack like overhead presses or olympic lifts, or if you just want to switch the barbell out, a half rack offers more flexibility because you’re always outside the rack. You can finish your set of standing rows outside the rack, clean the barbell to your shoulders, and set it on the rack ready for a set of squats. A power rack requires that you completely unload the barbell first and carefully maneuver it around between the uprights to set it inside, and you better not have a wall next to you or sooner or later you’re going to be repairing drywall.
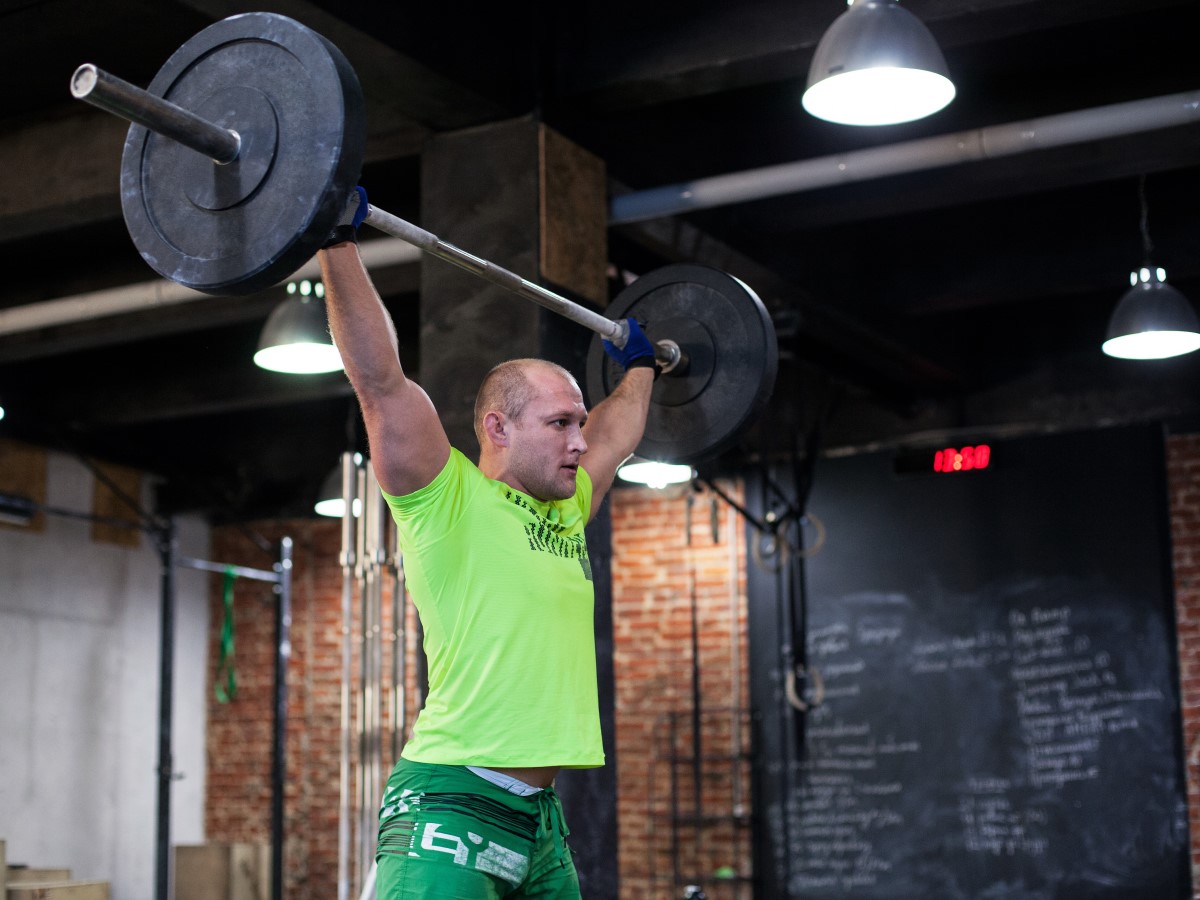
Olympic Lifting
With so many people into Crossfit or barbell complexes involving olympic lifts (the snatch and clean-and-jerk, this can be relevant for a lot of lifters.
Maybe you want to do some warmup front squats off the rack, then take a few steps back and do a set of cleans off the floor without being stuck inside the rack. To get the barbell out of a power rack in a reliable way you’d have to unload it first.
This video nails exactly when it’s ok to squat outside of a rack:
A lot of half racks have optional safety arms you can add or remove as needed, making the safety feature not an all-or-nothing decision.
Some half racks can be bolted into a concrete floor or a lifting platform. Even if your rack doesn’t have tabs with bolt holes on the feet, it’s actually possible to bolt down any rack. You either want to drill through the tubing and use extra long bolts, or better, bolt down a bracket that lays over the tubing.
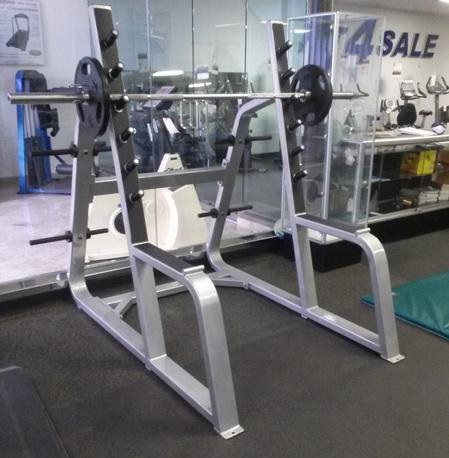
Above is an old style squat rack with fixed spotter bars that are not adjustable. That’s a big drawback. Taller users need the safety bars to be higher, or it isn’t as safe.
Note also the gunrack-style barbell hooks. Instead of a set of adjustable-height J cups, you use whatever height you want. Personally, I don’t like that style. You can bang into the front of hooks when walking it back in.
This old style isn’t really any cheaper than power racks. The main reason for them is they have zero moving or detachable parts that can walk away and are pretty heavy and stable. One less headache for gym managers to deal with. On the flipside, the lack of adjustability means they are less user friendly. They have been mostly phased out in favor of adjustable squat racks or power racks.
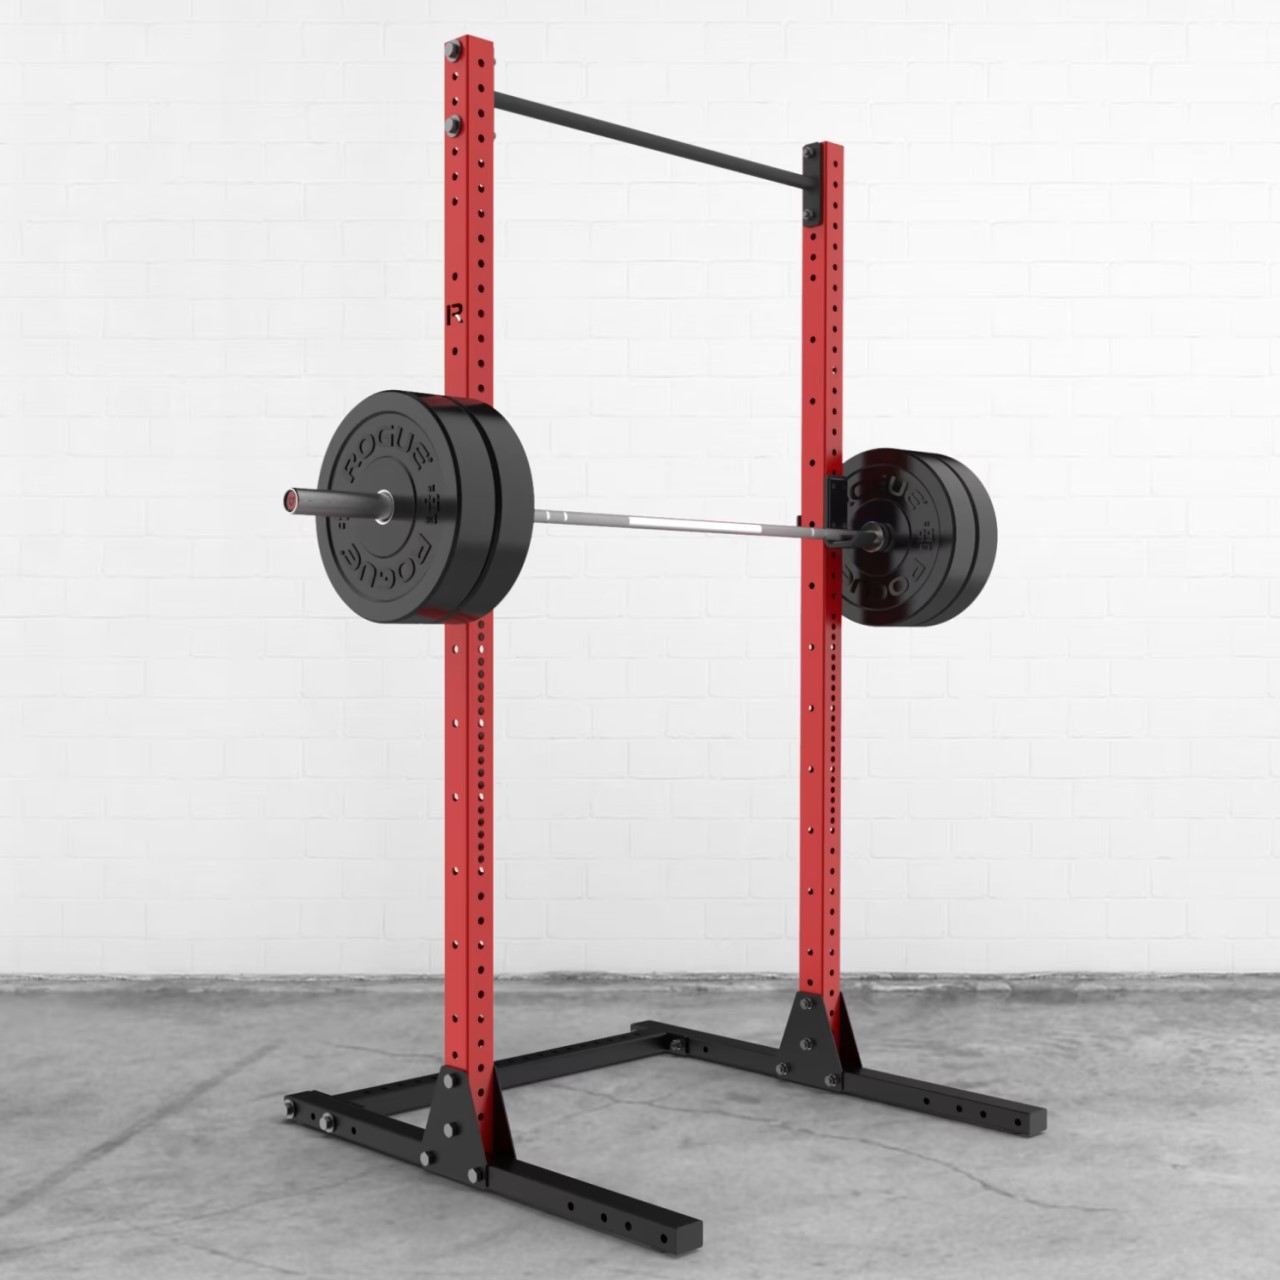
Anyway, as far as modern styles, as of writing I don’t yet have a guide comparing several half racks. Generally by default I recommend Rogue. At least look at its sizing and features as a standard to compare another brand to.
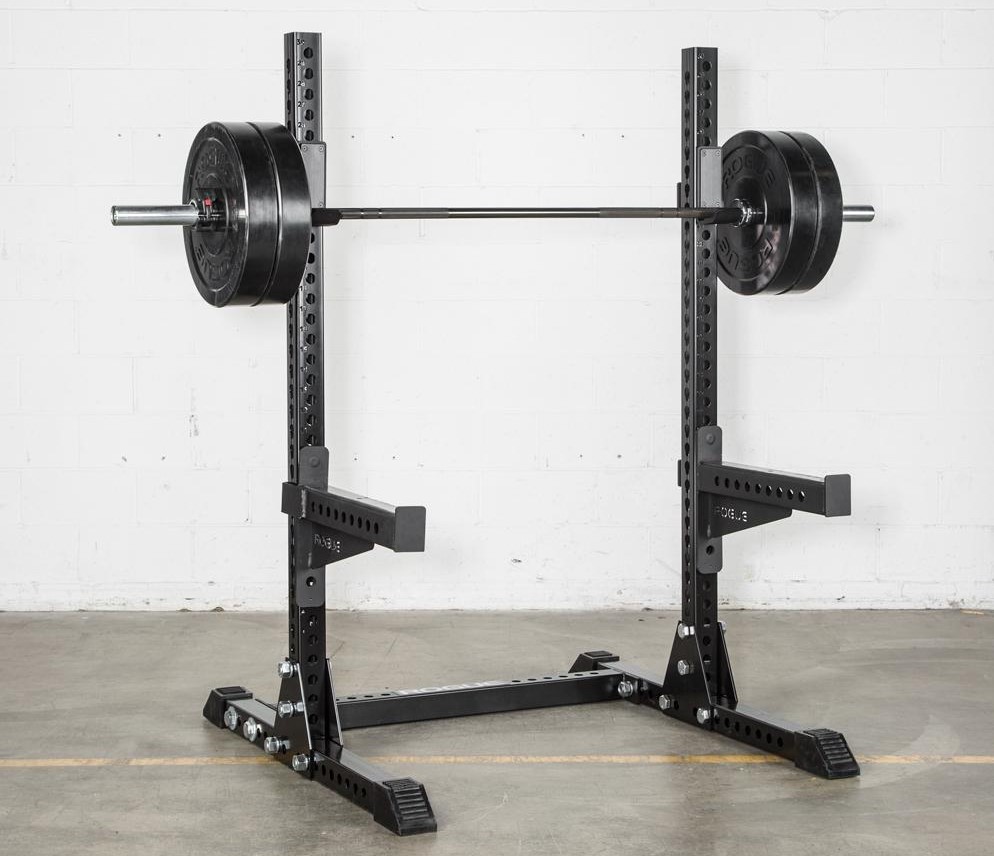
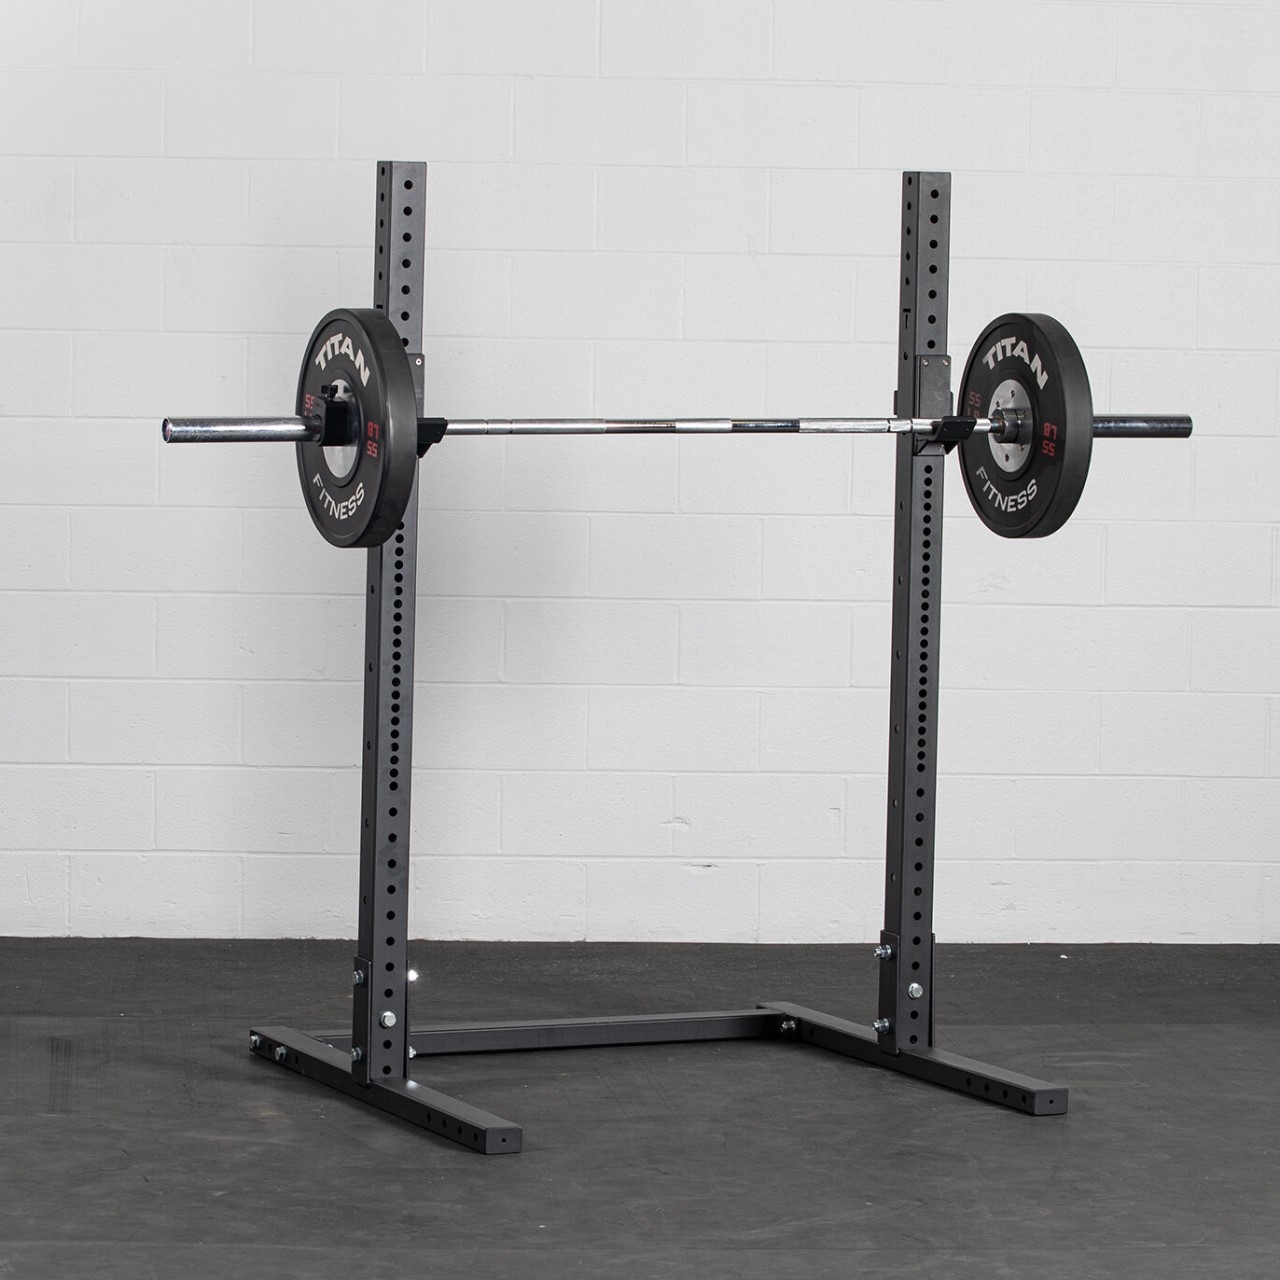
This is the Rogue Monster Lite SML-1. If you compare all of Rogue’s squat stands, the SML-1 is the lowest priced one that is heavy duty enough to have good 24″ safety spotter arms as an option.
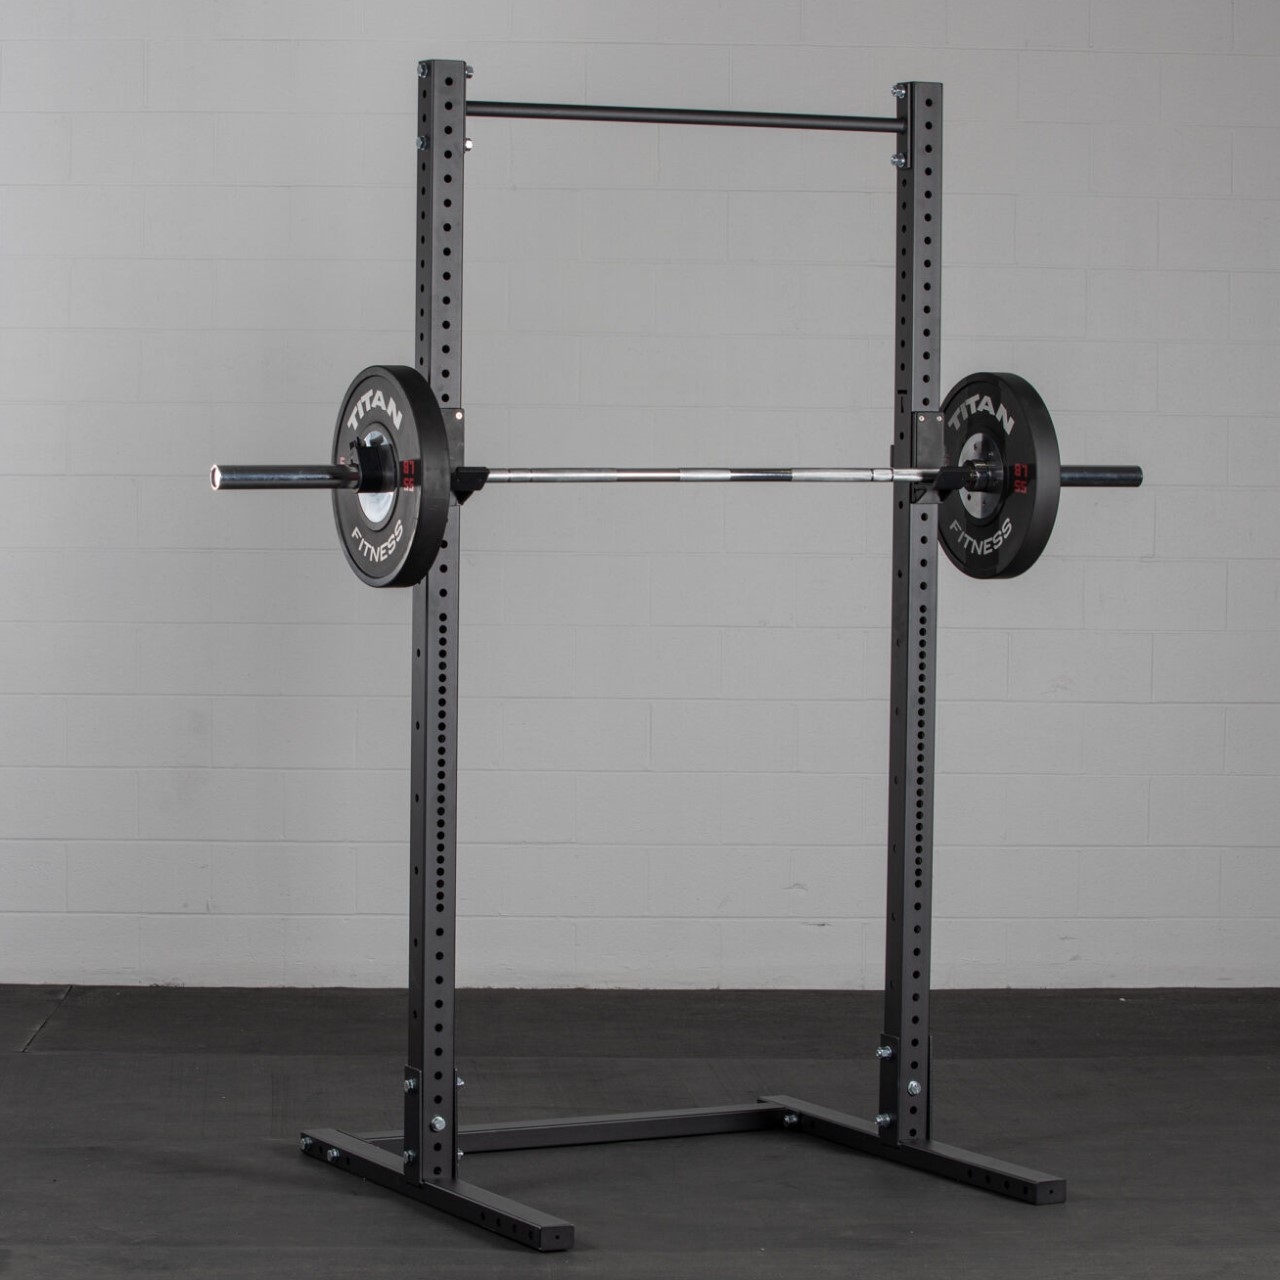
Independent Squat Stands: Useless?
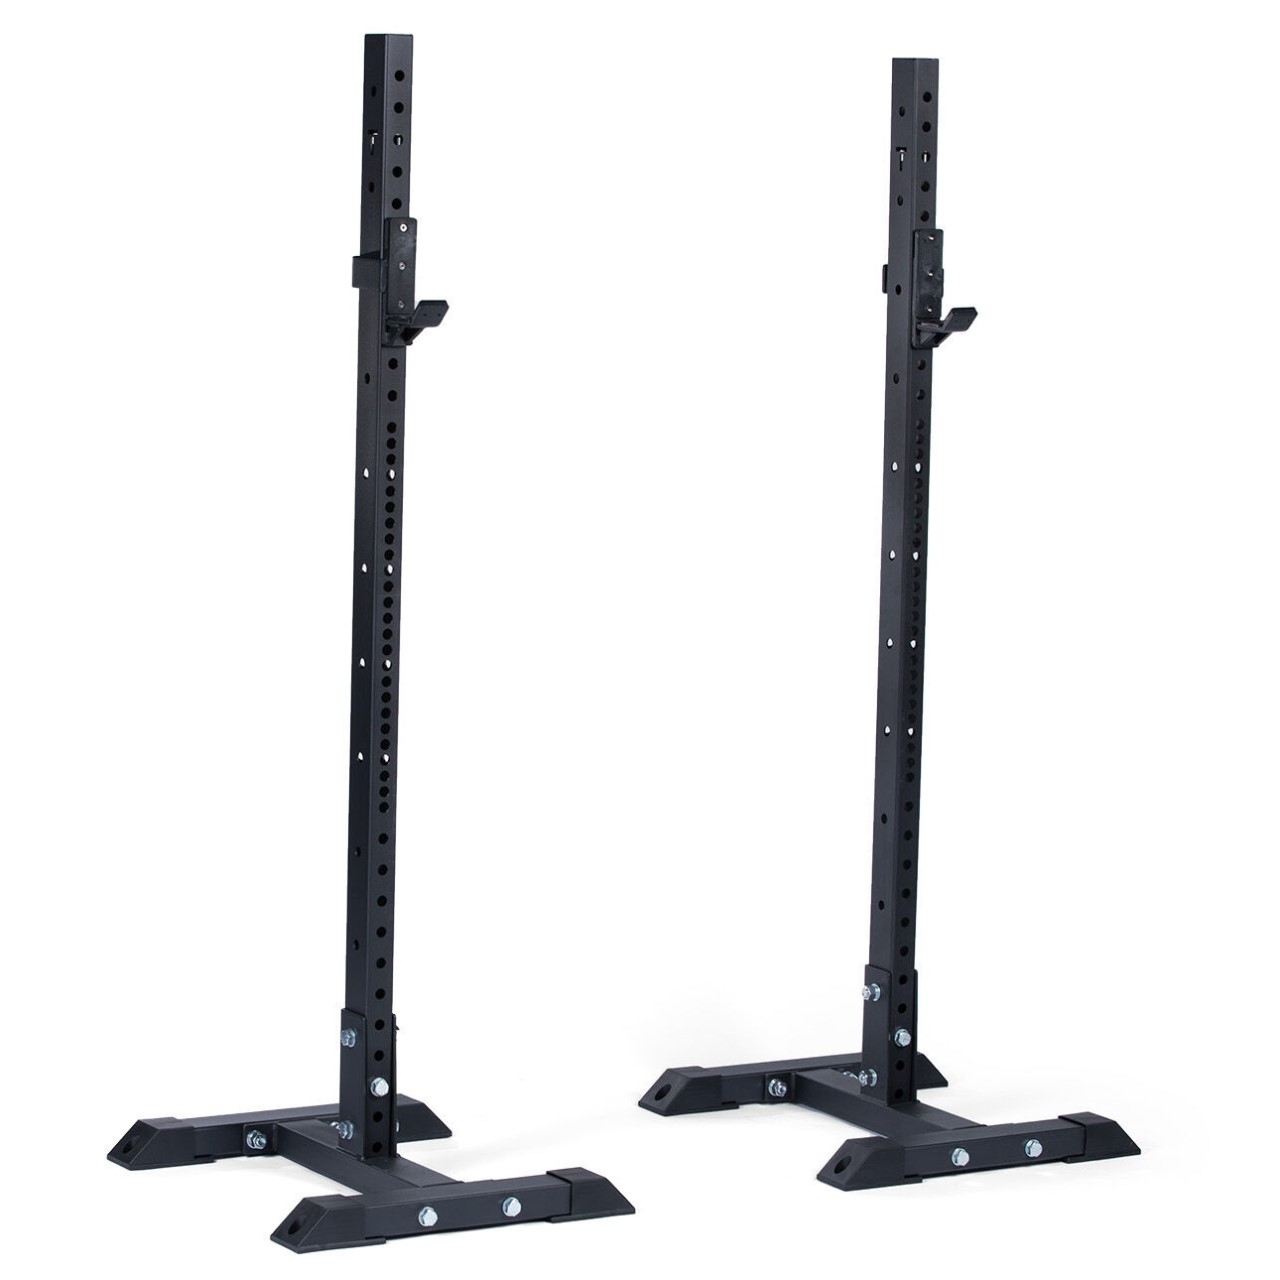
A pair of stands like the above are the least safe option, and these are relatively heavy duty compared to some. You have to make sure the stands are the right distance apart and oriented right. They are easy to tip over when you move the barbell back into them.
Consider also where you’ll step. You could potentially trip over these splayed-out feet with a barbell on your back. Overall just not very user friendly.
Their selling points are price and portability. You can stuff them away in a corner or closet between uses.
A lot of beginners use stands like this when they’re first starting out. As you push your limits, get stronger, and lift more weight, these start becoming a really bad idea.
Wall-Mounted Squat Racks Advantages

These racks recruit your wall studs to add more stability than a regular half rack, and they fold against the wall to save more space than a half rack would. For these reasons, a ton of people opt for this style, and it’s not a bad choice.
They do require careful installation. The first racks of this type had issues where you could rip the screws out of the wall. Now it’s pretty much standard to recommend wood stringers between your wall studs as in the above pic – making 100% sure you’ve hit the studs behind the drywall – and then you’ll mount the rack into the stringers with big screws.
For more complete info about this type of rack, I wrote an article comparing several wall mounted squat racks.
Much prefer a full power rack. Work out by myself at home. Use drop in safety bars. Only needed them twice over the years, really happy I had them in place when needed.
That’s the safest setup for sure. Like you, I’ve rarely had to rely on safety bars except on rare occasions where I needed the idiot proofing. Much more often it seems like everyone uses them to set up for some exercises.
Can you look into why the site no longer works correctly on Brave browser on android? Only the main page loads, all links results in infinite refresh.
Thanks for the heads up! I think this is caused by Brave’s “de-AMP” feature introduced in April, because of privacy concerns in how AMP pages might be routed through Google. In the meantime you can disable de-AMP in Brave settings, or click on Request Desktop Site, but I’m looking into a way to fix this on the server side.