
This guide assumes you’re doing the program outlined in the most popular book on novice strength training, Starting Strength by Mark Rippetoe. It also assumes you’re following the book’s program relatively strictly, focusing on 5 basic barbell exercises: the squat, deadlift, overhead press, bench press, and power clean.
Table of Contents
Should You Be On Starting Strength?
Are you still a novice? How do you know? Is it a matter of how much you can lift?
The weights you’ll be lifting when you need to move beyond the program varies in a wide range for different people. Very roughly, if you’re a male benching 225, squatting 315, and deadlifting 405 lbs (that’s 2, 3 and 4 of the “big” plates on each side of the bar, for the unaware), you could be in need of a new program to keep progressing. As long as you’re following the program and still progressing, you’re still considered a novice, and that’s a good thing because it means you don’t need more complex training yet.
People like to think they need to move to a more advanced program when there’s no need to. Realistically this may be because they want to be like their favorite athlete who does a complex routine, they want to use their brain more by making things complicated, or because they think they have graduated from novice level by virtue of lifting for years on and off with a bad routine, knowing your way around a gym as well as anyone out there, but not making much progress (hey, that’s me!).
If you’ve stopped making progress, it could be because you aren’t eating enough, you aren’t resting long enough between sets, or you aren’t increasing the weight in small enough increments (see our guide on some handy weights to use for microloading).
The bottom line is unless you’re following the principles of the program fairly strictly, you won’t know when you’ve hit a plateau and it’s time to start getting tricky. Humans generally all respond predictably (by getting stronger) to the basic principles of this program for months on end. You’ve graduated the program when your body is no longer adapting with increasing strength after you’ve tried adjusting everything.
The Book: Starting Strength, 3rd Edition (2014)
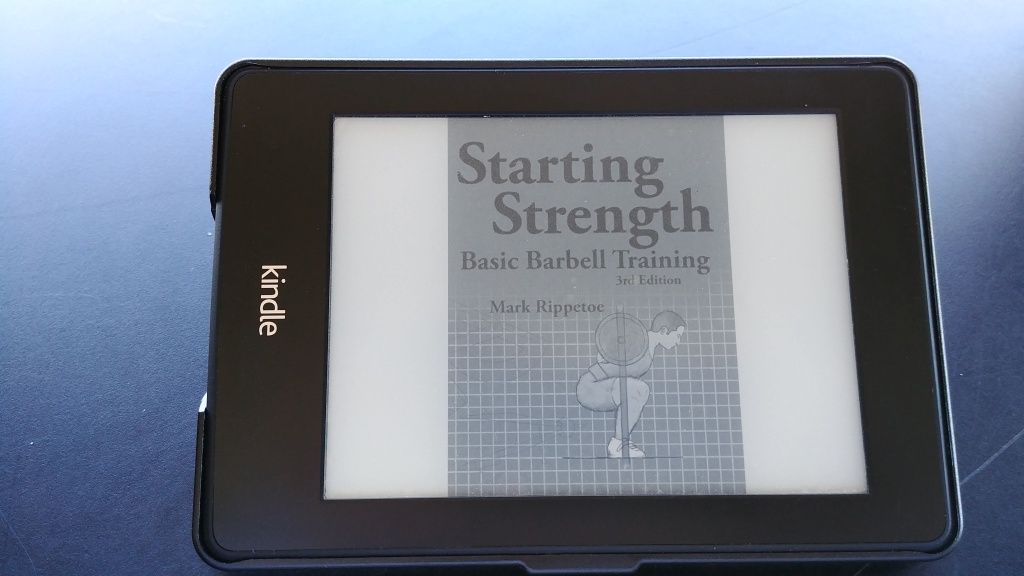
The first thing you need is the book.
It’s in the third edition. And yes, you do want the third edition. The first edition was targeted towards trainers, but then Rip realized his audience was mostly students learning from the book alone. The second and third editions were written with that in mind and includes updated and expanded instructions on technique and programming.
Not reading the book is one of the top 10 mistakes that people make when trying to follow Starting Strength.
Also see Rip’s youtube channel. Nothing teaches like examples.
For extra help with the details, the startingstrength.com forums are still active. Don’t post a question there without having read the third edition cover to cover and searched the forums a bit for the answer to your question. You’ve been warned. They get tired of endlessly repeated questions.
The Barbell
A caveat to all these equipment recommendations: If you’ve already got something, use what you’ve got for now. Don’t wait. Think about upgrading, but while you’re progressing from light weights, really nice equipment is more of a luxury than a necessity.
However, the reason I list the bar first is because this is not where you want to cheap out. This is where you want to spend your money, if anywhere. A straight bar, with no rust (tetanus, anyone?), good spin, and the right design is important. You can have a rusty rack with paint falling off, chipped weight plates, bare concrete floor, and your situation is still pretty good as long as you have a good bar.
The bar requirements for Starting Strength are similar to bars for powerlifting or bodybuilding routines. The difference is Starting Strength is a very specific program for novices, and with such specificity it’s possible to outline what the optimal bar would be.
You don’t need to go overboard with getting the most expensive bar that people online rave about. The price of excellent bars has dropped in recent years. Plan on spending $250-300.
Knurling: A “medium” feeling knurl is best. Crossfitters and olympic lifters prefer soft knurling for high-rep work. Soft is necessary to avoid tearing up their hands. On this program you won’t be doing high reps. There’s also no reason to get knurling that bites into your hands. Any bar with “Texas” in the name comes to mind.
You also want center knurling to help keep the bar on your back for squats, but soft center knurling is important so you don’t tear up the front of your neck as you catch power cleans. More and more bars today are not ideal for this program because the Crossfit market prefers no center knurling, due to the emphasis on high-rep cleans.
Diameter: 28.5mm to 29mm. Most 28mm bars can get “whippy”. You don’t want it to wobble on you as you’re trying to do a slow, controlled back squat, but then that only comes into play at like 300 lbs, beyond what most novices will do. If you’ve got a really stiff 28mm bar, resulting from high carbon content and high tensile strength, that’s fine. Going up, 30mm will cause your grip to give out on you sooner with heavy deadlifts. So 28.5-29mm is the sweet spot.
Rotation: Bushings in the sleeves are better than bearings for this program. Rotation is good for power cleans, but you’re not doing 1RM attempts and you should be able to catch it every time with the less sensitive spin. Too much spin and the bar will want to fold your wrists during presses. Bronze bushings are the best for low-friction and high-durability.
Finish: Something grippy. Bare steel or black oxide work. Chrome is perhaps the worst choice, due to its slippery-when-wet properties. Rip prefers bare steel, the way it oxidizes with a brown patina over time (a lighter colored orange rust would be bad).
The Burgener & Rippetoe Bar (ie: B&R Bar) was Rip’s official recommendation for years. He and Mike Burgener got together and came up with these specs above for a bar for his program.
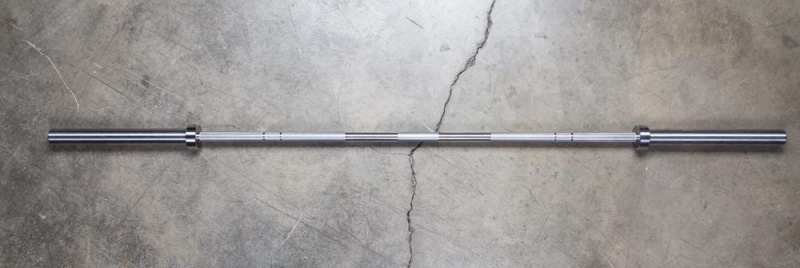
It was originally made in 2008 by York Barbell in Canada and sold exclusively by Rogue. It was one of the first bars to feature dual knurl marks.
Once Rogue started making all their bars in-house in Columbus, OH, they came out with version 2.0 that I believe is all the same specs as the original but using Rogue’s fabricating equipment, their pretty end caps, and better quality.
Rip later said that the original York B&R Bar was lousy in that the bushings would loosen and slide up and down the bar. He isn’t a fan of York as a company anymore or their newer products.
Update 2020: Rip still praises the Rogue B&R Bar 2.0 but has now partnered with Texas Power Bars / Capps Welding to offer the Starting Strength Bar. It has the more common 28.5mm diameter and is offered in not only a 20kg/44lb size but also 15kg and 10kg. Other than those details and the end cap design, the bare steel design is pretty similar to the B&R Bar 2.0. Either bar will work.
Speaking of Capps, Rip has also had positive things to say about them. He has an old 1980s Texas Power Bar in his gym that is apparently still dead straight despite decades of heavy lifting.
Collars
Right along with the barbell is the collars, those things that keep your plates from sliding off.
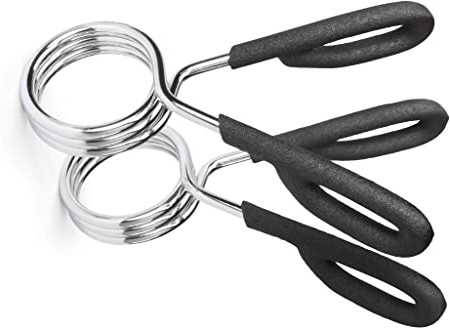
The above are spring clip collars, those pieces of garbage that everyone shares Rip’s hate for and replaces at the first opportunity with good collars. If you have used them, you know what I mean.
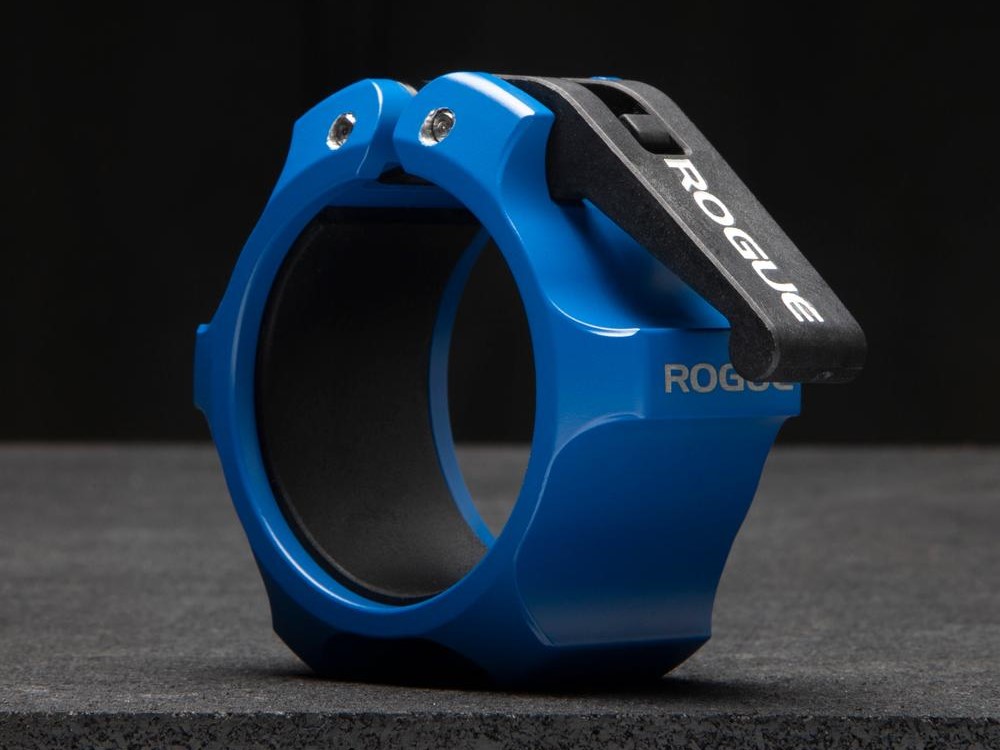
Above are some better aluminum collars. Rogue and other stores have several other collars that will work good. Spend $30 or more one some collars with good reviews and they’ll be way better than the spring clips. I’ve had a pair of Muscle Clamp collars forever.
The Rack
Various types of power racks or half racks can work fine, if you’re careful. The larger, heavier, more expensive ones take away more and more of the “be careful” factor out it by giving you a big safety net. They also have added features that are unnecessary or useless for performing the lifts in this program, such as band pegs, pull up bars, and dip bars.
With this program you should not be regularly failing reps. In fact, Rip does not even teach that aspect of training, because he stresses that you should never be failing reps with this program. You should be progressing in small enough increments that you do not fail, and what’s more, you need to feel like you have to get the weight up and not be relying on safety bars because you’re lazy. However, when you’re lifting alone you need some kind of safety mechanism should the worst happen.
Therefore, anything without safety arms is a bad idea for most of you. Safety arms/rods will catch the bar just below the bottom of your range of motion, saving your life should you fail a rep. Ergo, you need a power rack or at least a heavy duty half rack with long spotter arms that are engineered to work and not just look like they might.
Rip prefers bolt-down power racks, such as the Rogue R-3. Note that you don’t have to bolt it into concrete. Bolting it into 4’x6’x3/4″ sheet of plywood works too. These type of racks are cool because they do not need a rear crossbrace for stability and are completely “walk-through”, letting you position your bench in the perfect spot without the rear crossbrace possibly getting in the way, as can tend to happen with adjustable benches in the incline position. Whether you go into plywood or concrete, it will be extremely stable, more so than a free standing rack of the same weight.

I discussed a few other open-ended power racks like this. Many are great.
As for smaller racks, the Rogue SML-2C is the #1 hot squat stand right now and good choice.
It’s plenty heavy duty enough to trust, as with virtually all equipment by Rogue. Don’t neglect to add the 24″ safety arms!
Update 2020: The “official” power rack for the program is the Starting Strength Power Rack, in partnership with Texas Strength Systems.
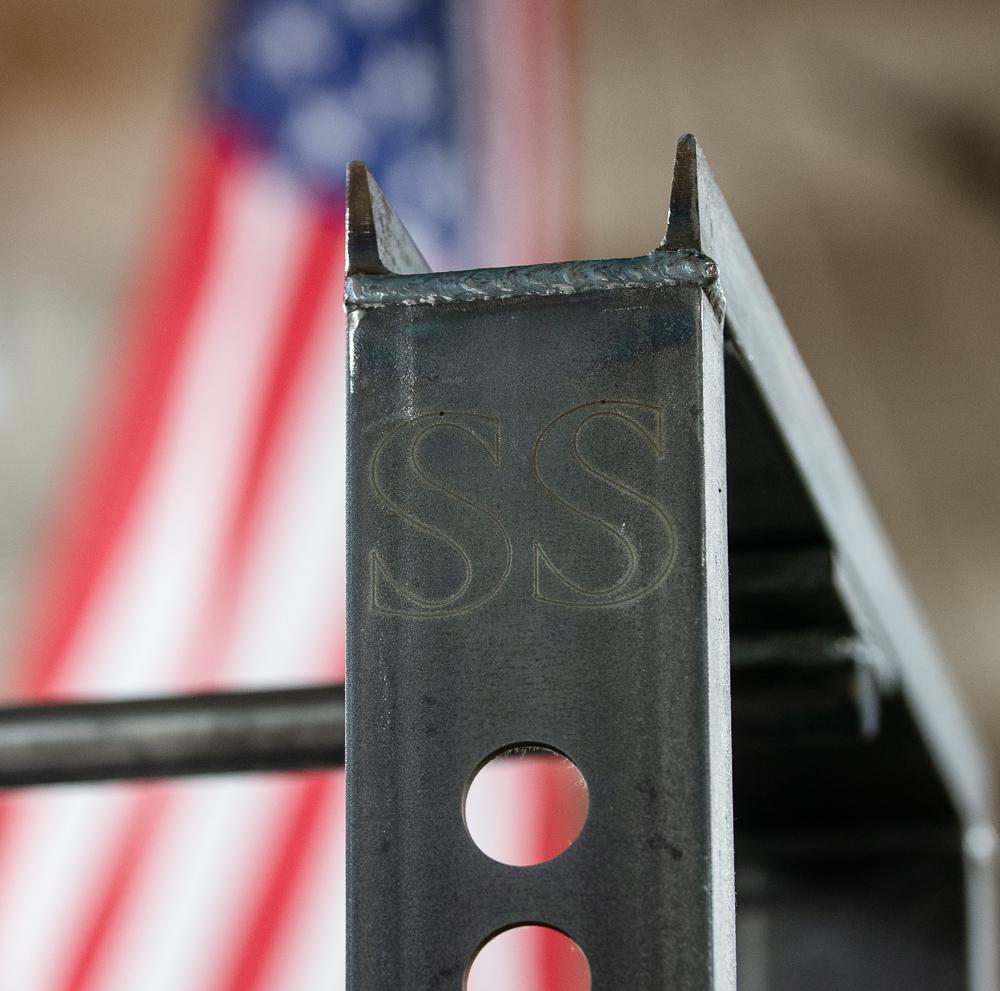
The design is very old-school, using a C-channel tubing design (ie: half of a rectangle) instead of the fully enclosed rectangular tubing you see on every other power rack today. Texas Strength Systems makes other modern power racks, so they know how to do it. I guess somebody wanted an old-school look to this one.
It’s controversial, to say the least. People generally go for a more modern design of rack. He does have a point in that the pins are a very thick 1.25″ thick cold rolled steel and are extremely tough to bend. Rip claims that one of his lifters dropped 635 lb on them from 3 feet and they held up fine. Normally you only see 1″ pins.
The Bench: Go Flat
A nice flat bench is all you need.
Adjustable benches are more useful for advanced lifters. On a novice program you have to concentrate on the same few lifts and not get fancy by changing up the exercises to incline and decline presses, or you’ll quickly stop progressing.
Flat benches are more stable and cheaper. Less to go wrong, too. There’s something to be said for knowing in the middle of your work set that there’s no chance you didn’t lock the adjustable back into position properly, and that there’s very little engineering you need to count on. Not to say that there aren’t perfectly good adjustable benches that you shouldn’t feel safe on. It’s just that it’s much easier to buy into with a basic flat bench.
I’ve found that some of the worst cheap benches are the adjustable ones. They’re easier to market, having more features, and that’s about all there is to them, marketing. Cheap squishy foam padding that will bottom out on you, rickety adjustment hinges, and thin gauge steel.
The Rogue Flat Utility Bench 2.0 is a good choice.
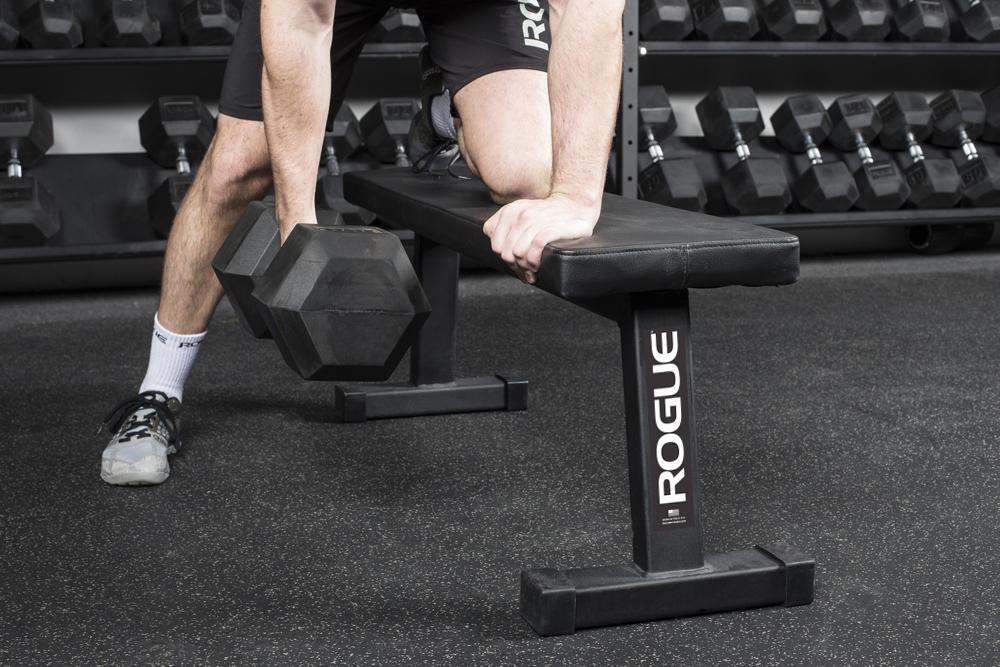
The Rogue flat bench is stable, heavy, has firm padding, is the right height, has the right width to facilitate arm movement, and the frame is entirely welded.

Update 2020: I feel obligated to mention the official Starting Strength Bench.
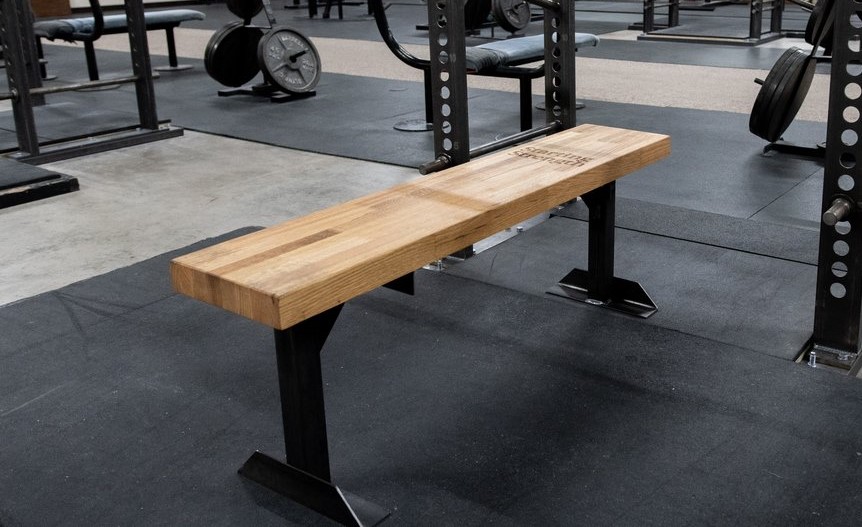
Confused? Well, I am. There is a good reason that benches have padding. When this bench came out, everyone was asking each other if it was a prank. It’s real. The new Starting Strength gyms have them. The solid oak is cool looking. Personally I would rather have a bench with a nice firm pad on plywood backing.
Weight Plates: At Least Get Accurate Ones
Any will work in a pinch.
Here’s the problem. How much are you lifting? How do you know? Are you going entirely off that convincing ’45 LB’ in white lettering on the face of the plate?
Try putting a few plates on a scale and you will start to feel mighty strange. Their weight isn’t accurate. That’s just the way iron casting is. The cheaper ones are pretty much all within 5% of the marked weight, but not guaranteed. Do the math and the possibilities as you load multiple plates on either side of the bar get worrisome. When you’re going up in 2.5 lb or 1.25 lb jumps, you have a problem.
Even more important, the center hole should be a tight fit on a 50mm bar sleeve. Less than 51mm. With a sloppy fit, your plates will rattle around and create extra slack if you’re lifting off the floor. That’s what cheap plates do.
One of the best all-around choices is Rogue’s USA-made iron plates.
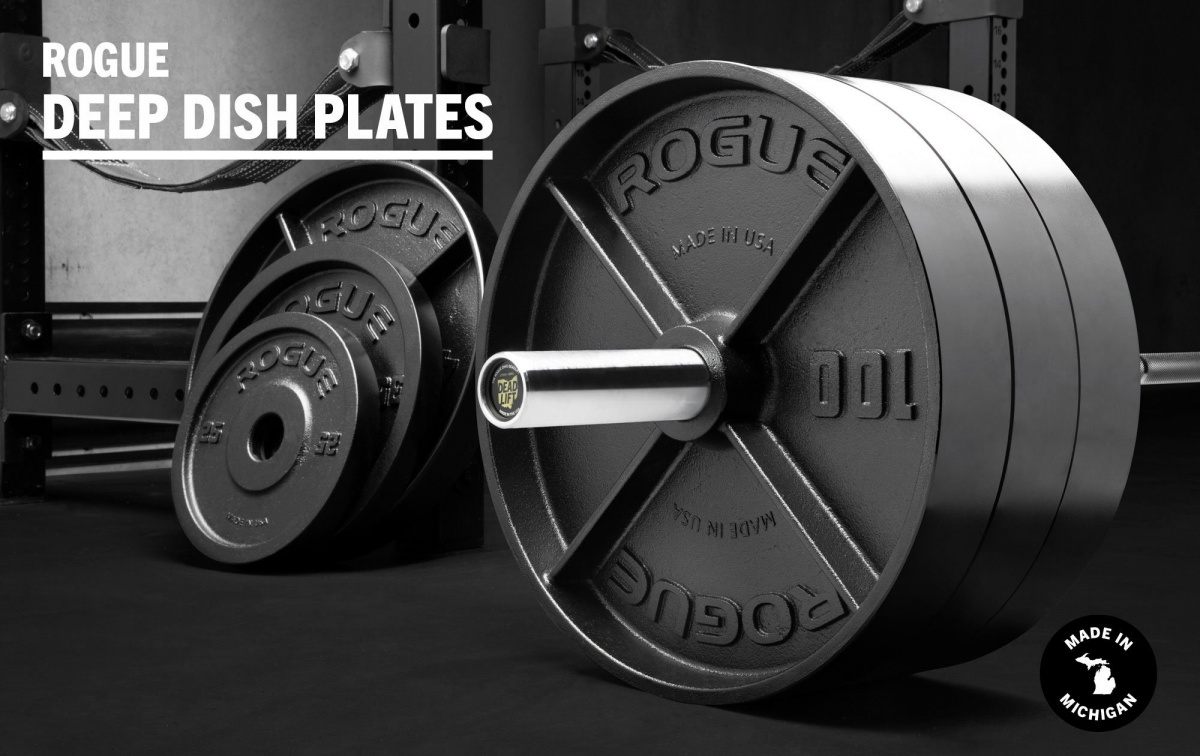
The center hole is a snug fit, and they guarantee each plate weighs at least the marked weight, and within a range of up to 2% more. They are machined on all sides to ensure exact dimensions. In reality, they’re going to be well within that weight range, or they would end up serving too many warranty claims or tossing too many out.

If you have the budget, get some economy bumper plates like the Bells of Steel crumb bumpers. They have a weight tolerance of 1% plus or minus.
I prefer bumpers because I don’t have to worry about damaging things if I drop the barbell, and all sizes from 10lb up are the same diameter and will contact the floor at the same height no matter what, meaning they’re good for learning the lifts in the beginning and then good forever for warming up with only 10lb or 25lb plates on the bar.
Lifting Belt
Not everyone agrees that a belt is necessary for novices. If you’re sure your form is good and you feel the need for a belt to prevent a back injury when deadlifting, get a nice double-ply leather lifting belt with a single prong. The double ply won’t get damaged and is sturdier than single-ply. The single prong is way easier to get in and out of, and a well-made single prong belt has no need for a second prong.

The official Starting Strength belt is made to those specs by Dominion Strength Training.
One more thing to note is this belt is only 3″ wide, in contrast to the many 4″ belts (and wider) on the market. Rip insists that 3″ is the correct size for the large majority of people.
He has also praised Best Belts, who makes a similar belt that other people have shared high opinions of.
Flooring
1/2″ thick rubber flooring is good. 3/4″ is even better! EVA or “rubber foam” (ie: not rubber at all) tiles are garbage.
If you’re near a Tractor Supply store, they always have stall mats, 4′ x 6′ x 3/4″. I was told by a store employee that everyone buying them is putting them in gyms, not horse stables.
Currently the best deal for a small quantity of rubber mats online with reasonable shipping is the 3/4″ Extreme Mats at Rubber Flooring Inc.
Grip Training and Assistance
Most everyone who trains deadlifts gets to a point where their grip fails them. Either applying chalk to your hands or using lifting straps will help you keep a better grip on heavy deadlifts.
Chalk makes a mess. It can work great in absorbing moisture to create friction and stop the bar from slipping from your sweaty hands. When you have a grip problem even with totally dry hands at the start of your workout (not that you should lift heavy weights before doing warmup sets, but I mean as an example to illustrate), chalk won’t stop your fingers from simply not being able to grip that hard.
Developing a stronger grip negates the need for straps. This can be accomplished by doing a lot of sets below the range where your grip begins to fail and also incorporating grip trainers into your workout.
You might try out the hook grip, a way of gripping the bar that olympic lifters and some powerlifters use that eliminates the need for straps. It hurts. You would have to do it a lot and get used to it.
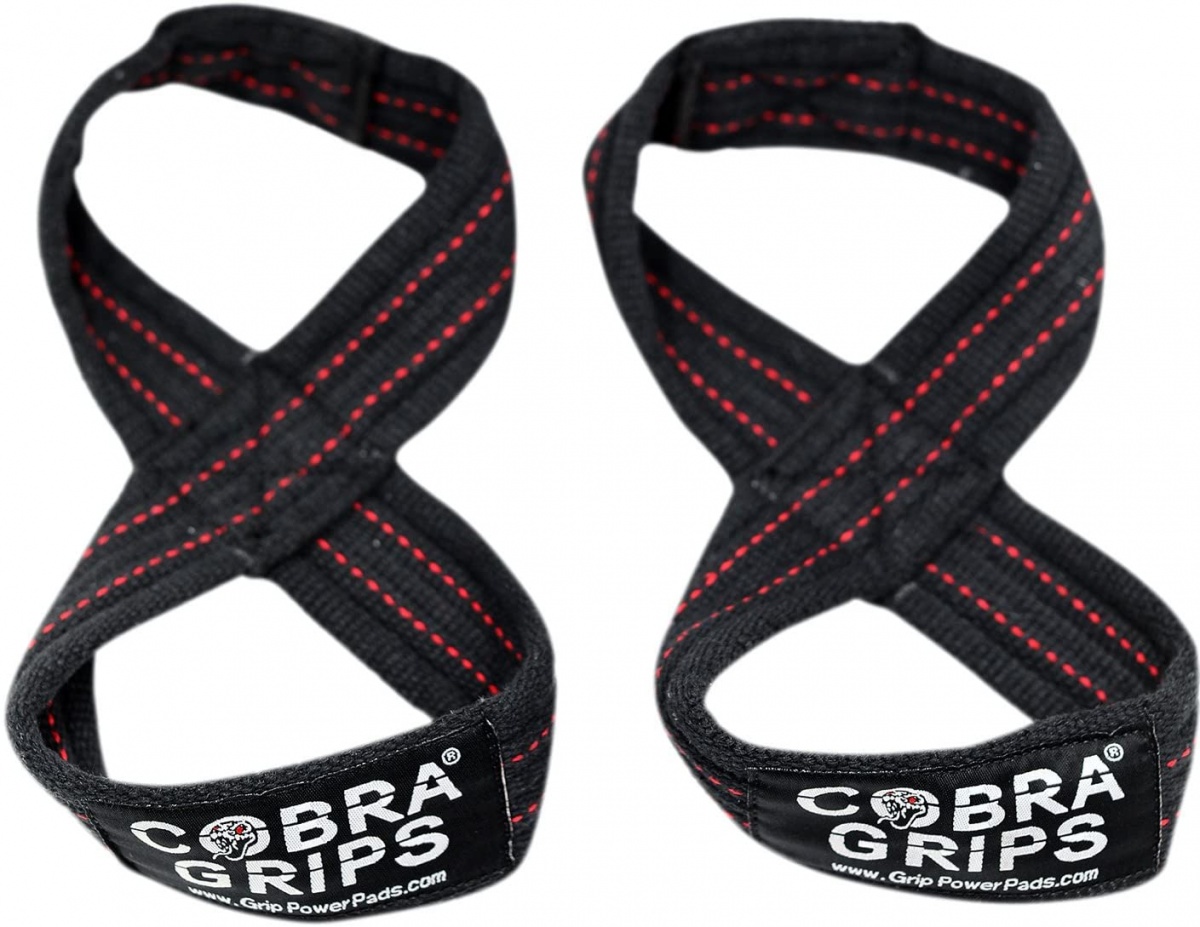
Those options aside, many people go for straps, one of a few styles. Figure-8 lifting straps can work well when properly sized.
Hey David, can I ask you a question? I apologize if I go off-topic a bit as it’s related to barbells but not to Starting Strength equipment specifically, but since I didn’t know where to post this…
Multi-purpose bars have dual knurls, OK, I got it. But what does that exactly mean? Does that mean they have the same type of knurl going all the way to the sleeves and double knurl marks, or does that mean all of that the knurl changes in different portions of the shaft, with such differences signaled by the placement of the knurling marks? I mean, does a multi-purpose bar have one variety of knurl (more aggressive, I guess) where a powerlifter would put their hands and another variety of knurl (less aggressive, I guess) where an Olympic Weightlifter would put their hands? Are two distinctly different types of knurl featured within a multi-purpose bar?
Thank you.
This pic shows dual ring marks, otherwise called dual knurl marks, instead of a single mark per side. It’s just to guide your hand placement.
As far as the aggressiveness of the knurling, a multi purpose bar might be anywhere in the range but hopefully is somewhere in the middle.
So the knurling and its degree of aggressiveness is the same throughout a multi-purpose bar with dual marks? In other words, the type of knurling before one ring mark is the same as the type of knurling after another ring mark?
Right, the rings have nothing to do with it.
OK. :) I’m surprised that they’ve not manufactured yet a dual-knurl bar featuring two different types of knurls, one more aggressive, between the center of the bar and the first ring marks, for the power lifts, and one less so, between the second ring marks and the sleeves, for the Oly lifts. I guess it’s too costly to produce.
That wouldn’t help much. A snatch grip is out there wide, but a clean grip is about the same as a deadlift grip. There is at least one bar, the Matt Chan Bar by Rogue, that has a softer center knurl, just the 5″ strip in the center.
Oh, I hadn’t thought about that. LOL, I have a lot to learn still. :) Thank you for clearing this up.
Can I ask you more questions? :) Let’s say that multi-purpose bars didn’t exist, and you wanted to do both the power lifts and the Oly lifts with a single bar rather than two. Would you choose a power bar or an Olympic Weightlifting bar? In other words, what’s clumsier: using a power bar for the Oly lifts or using an Olympic Weightlifting bar for the power lifts? I’ve been thinking about it and I’d say that the latter is clumsier than the former, but I’m not sure.
See here. I updated it with the drawbacks to using the wrong bar.
https://www.tworepcave.com/414/power-lifting-bar-vs-weightlifting-bar-whats-the-difference/
Hey David, thank you for updating the article with the drawbacks of using a weightlifting bar for the power lifts and vice versa.
Yet you do not take any position about what of the two is clumsier. I think using a weightlifing bar for the power lifts is worse than the opposite. What do you think? My question is more like a theoretical musing than anything else, as none of the two is ideal and both have their downsides of course.
By the way, do you think that using a weightlifting bar for the bench press could be dangerous as the “blowback” stemming from the whippiness of the bar could cause it to almost slam on you on the way down?
Hello mate, could you give more details about bolting a rack into 3/4 inch plywood? What kind of plywood? What kind of screws? I don’t know shit about these things, and I’m interested of doing this instead of buying a flat-foot rack. Thanks!
Any plywood that isn’t bowed is good. Use wood screws that fit in the rack bracket right and aren’t so long they go all the way through the plywood. Mark all the holes first, then drill pilot holes with a drill bit smaller than the screws so they go will in all the way and won’t crack the plywood.
Thanks for the article!
Buddy Capps now has two bars that should be suitable: the Texas All-American bar and the Starting Strength bar.
The latter was developed in conjunction with Rippetoe.
I’ll get some notes on those added to this guide soon, thanks!